Ingredients
3 cups self-raising flour
1 tsp baking powder
1/4 tsp salt
3 tbsp caster sugar
80g unsalted butter – cold cut into cubes
1/2 cup full cream milk
1/2 cup buttermilk – you can make your own by combining 1 cup of full cream milk with a tbsp of lemon juice or vinegar and allowing it to sit for five mins
1 egg
Summary
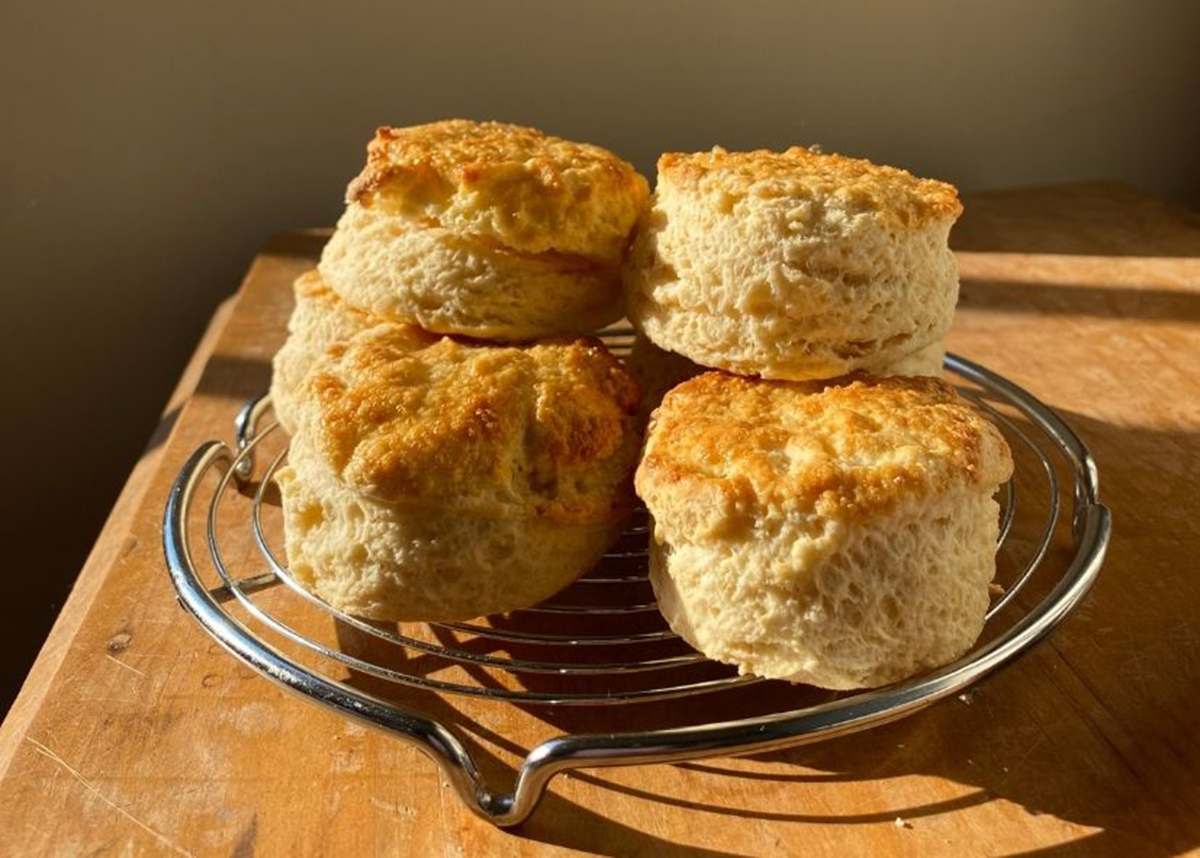
In our research for this recipe, we watched many a CWA member deftly combine a few pantry staples and transform them into the light, fluffy, classic scones we know and love. Initially, we thought, how hard can it be…? It turns out these fundamentally simple treats exist inside a world of complexity, but don’t worry, we can confidently say we’ve got to the bottom of it.
These are what we might venture to call the ‘classic’, plain scone; the milk and butter kind rather than lemonade and cream kind. We’ve used a new-fangled food processor for the initial steps, but your hands work just as well, and nanna would probably be prouder that way.
Here are a few tips and tricks that you might find pedantic, we apologise in advance!
1. Use a food processor to form the dough. Hands are sometimes too warm, and they melt the butter resulting in dense scones – we reckon most of the CWA out there would roll their eyes at this.
2. When you’re cutting, plunge down and up, no twisting. Twisting causes lopsided scones.
3. Use a spatula to transfer your scones to the baking tray without touching the sides – this again helps with lopsidedness.
4. Resting the dough for 20 minutes in the fridge before baking. This helps the butter remain cold, which keeps the texture light and tender.
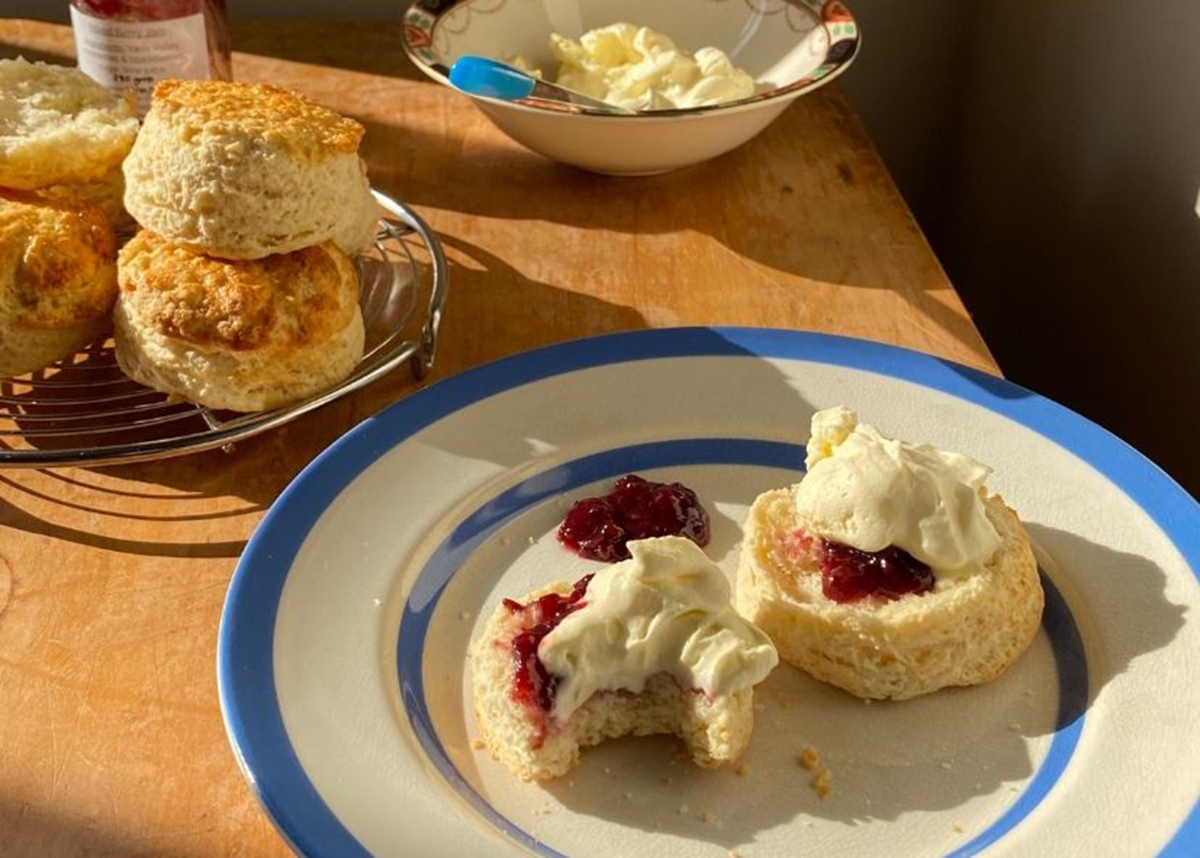
Take these tips with a dollop of cream; imperfection is perfection! Come afternoon tea time, you’ll still have a gorgeous, warm cake to spread liberally with butter, jam and cream.
Scones
Preheat oven to 190ºC or 175ºC fan-forced
Sift flour, baking powder and salt into a bowl of your food processor. Add in the butter and blitz it several times until it resembles breadcrumbs. You can do this with your hands as well – Using your fingertips, rub the butter and flour together until it resembles breadcrumbs.
Add in the sugar and blitz/stir to combine.
Combine the buttermilk and milk in a jug. If you’re using a food processor, pour the milk evenly over the flour mixture and blitz a few more times until it begins to form a dough, don’t go overboard. If you’re not using a food processor, make a well in the centre of your flour mixture, pour in the buttermilk and milk, and then combine with a butter knife, using sharp movements to bring the dough together. Don’t overwork it here; it’s going to be a craggy mess – that’s what you want.
Tip mixture onto a floured surface, then form into a cohesive mass with the least kneading possible – we aim for as few as three folds!
Once the dough is workable, flatten it out to be about 2cm thick. Dip a 5cm diameter cutter into some flour and then plunge the cutter straight down and back out of the dough (no twisting).
Transfer scones to a lined or greased baking tray using a spatular – try not to touch the sides with your fingers. Place the tray in the fridge to rest for 20 mins.
Meanwhile, whisk the egg to make the egg wash.
Using a pastry brush (or your fingers), coat the top of each scone with egg wash – save the leftover for tomorrows breakfast.
Place in the middle rack of the oven and cook for 15- 20 mins turning halfway – until golden brown and sounding hollow when you knock on them.
Serve warm!
Hints and Tips

Absolutely delicious thank you for the terrific recipe
So glad you enjoyed them!